


Game MechanicsBloodborne Wiki » Game Mechanics |
Source ❘ Edit ❘ Sitemap ❘ License page revision: 72, last edited: 03 Feb 2024 |
List of Mechanics |
|---|
Getting Started |
|---|
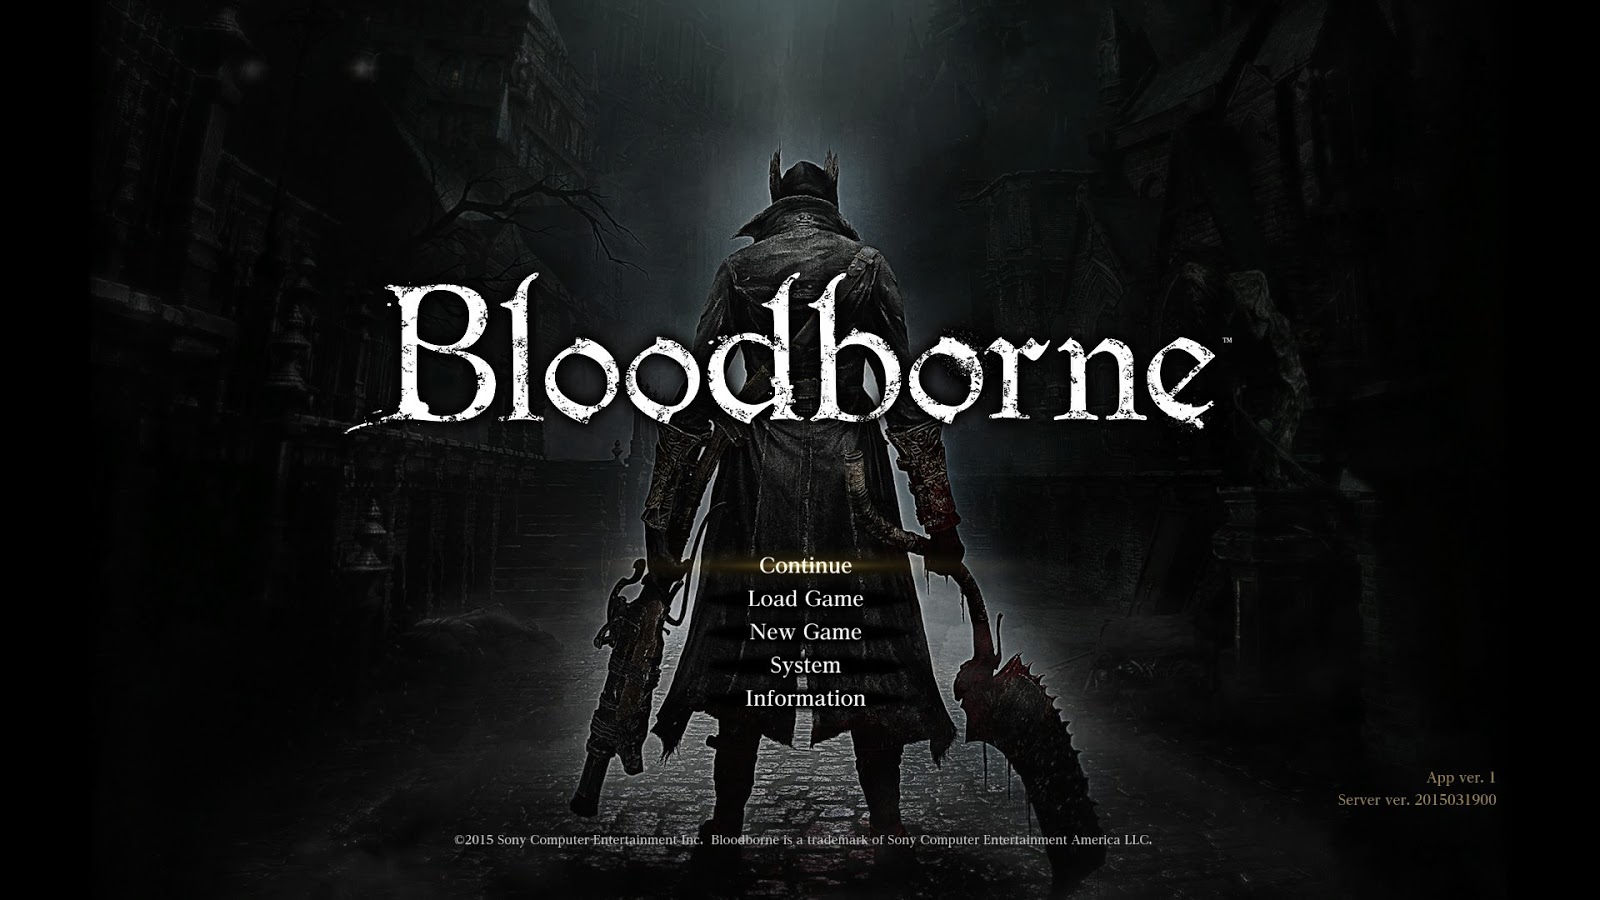
Title Menu | |||||||||
|---|---|---|---|---|---|---|---|---|---|
|
|
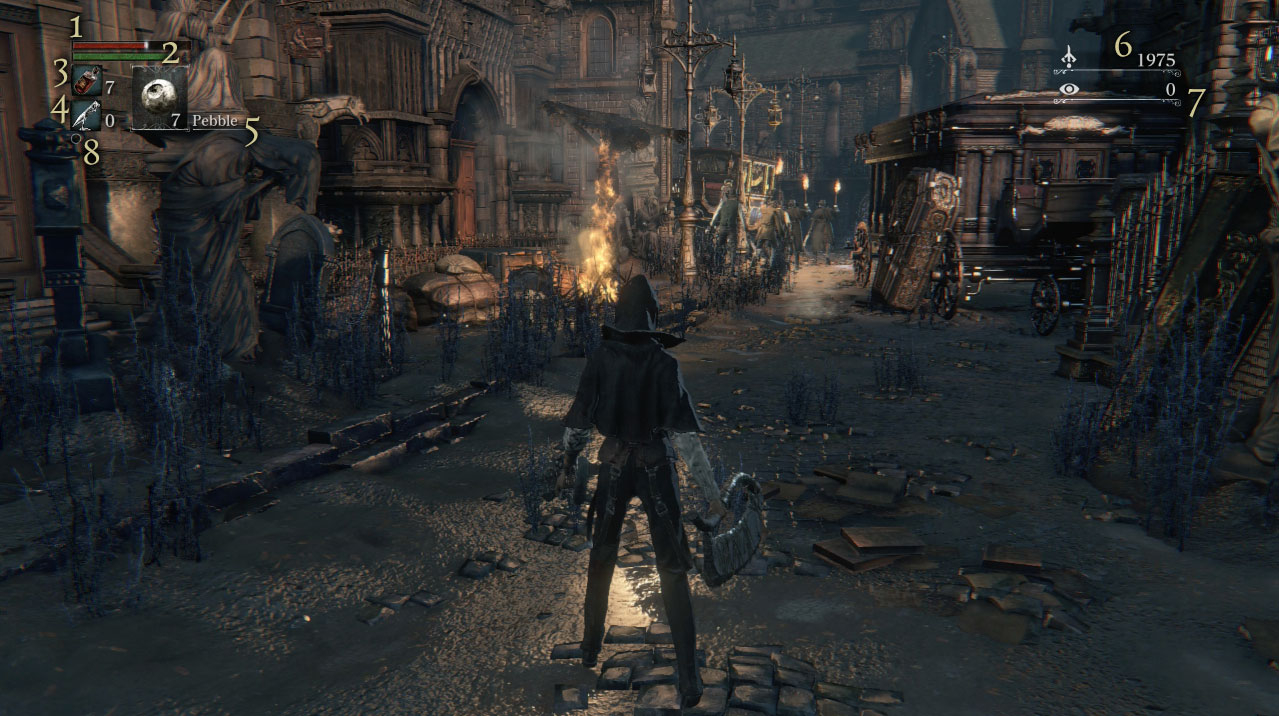
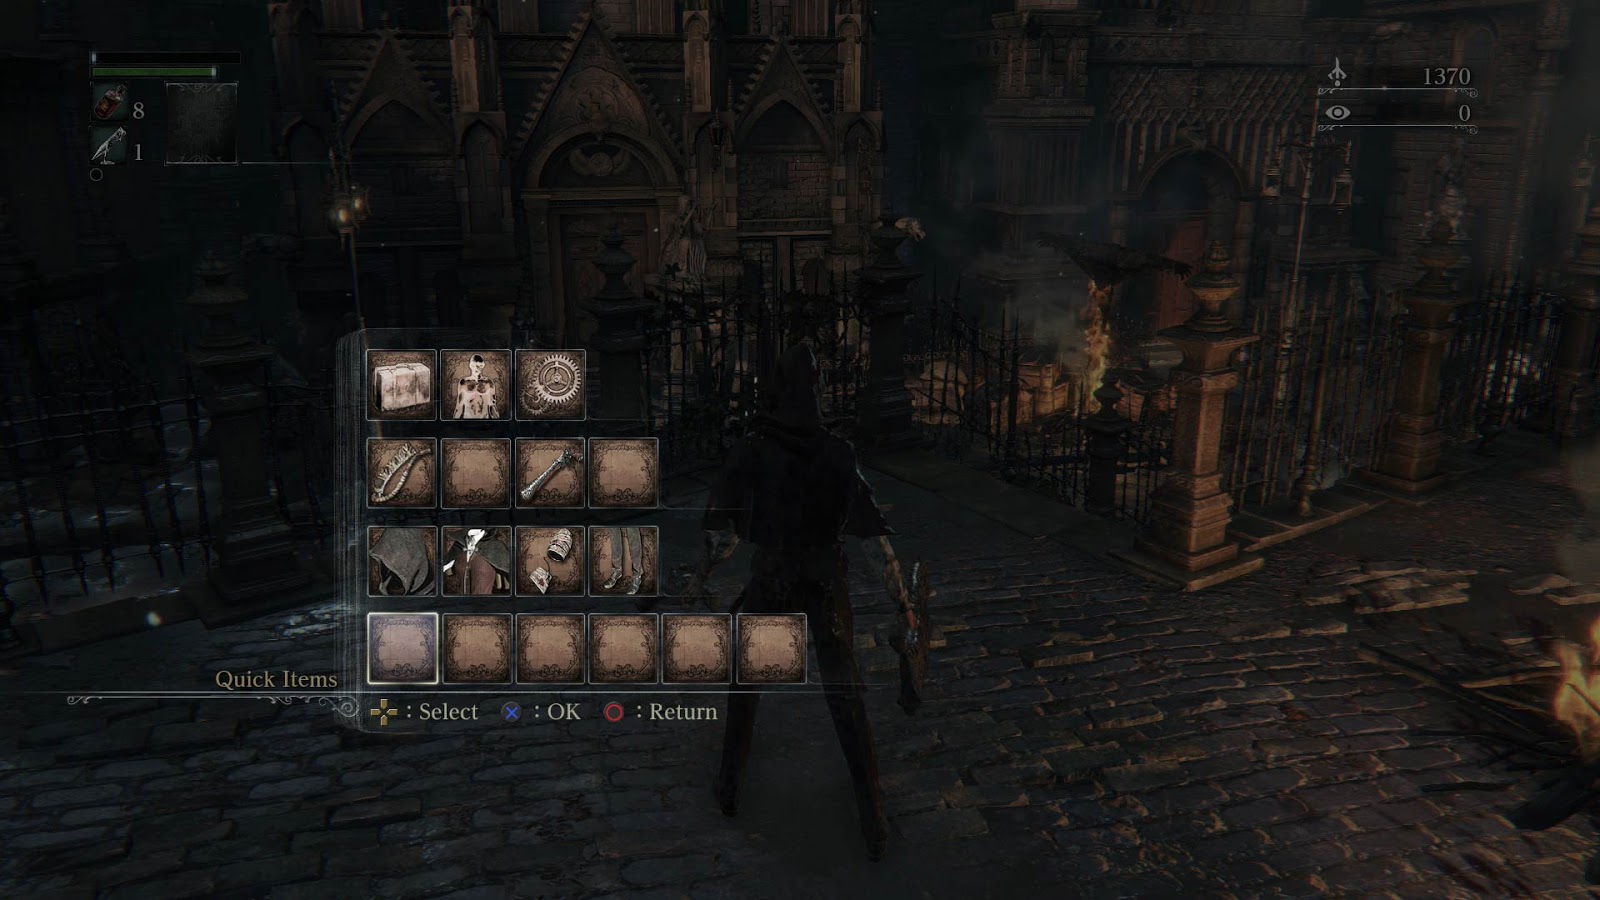
Game Screen | The System Menu |
|---|---|
|  |
|
|
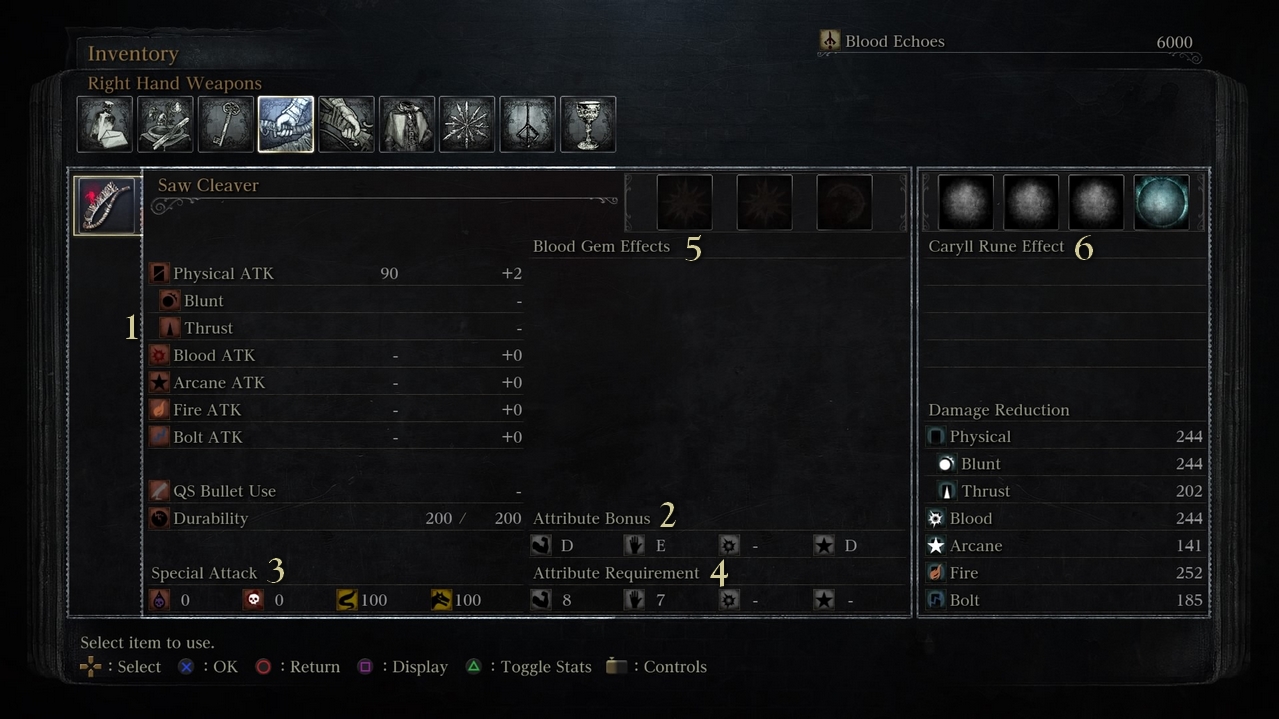
Weapon Info Menu | ||||||||
|---|---|---|---|---|---|---|---|---|
|
|
Personal Effects |
|---|
|